Your 2D Sky and Sky Writer
In the last article we made the 3D Skybox. You could have started with the 2D Sky just as well. But now we are here and it's time to explore some of the cool things you can do in 3ds Max to generate your sky texture.
It is important to understand that when you are making your 2D sky you can take the gloves off and throw every single thing you have at the design. There are no polygon limits to worry about; you can do whatever you want, including using volumetric effects, particles, and any kind of material/map combination.
What you are doing at this stage is modelling a scene to "photograph" as the backdrop to your level.
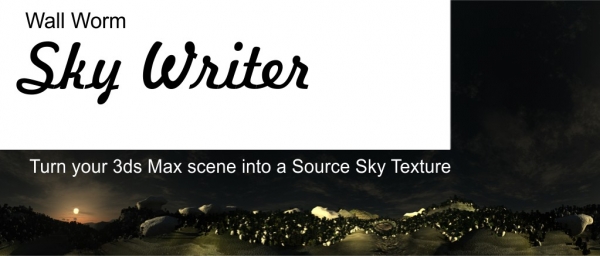
The tools you use for this are going to be dependent on the environment you are creating and your level of expertise. Essentially, you want to use 3ds Max as your canvass for painting a scenic backdrop. You do this by sculpting a landscape, adding cities, forests, oceans, clouds, etc. When you are done, Wall Worm's Sky Writer will take a cubic snapshot of your scene and send it to Source.
Common Tools for Making Skies
Making your sky can be as simple or as complex as you want. To help you achieve your goals, there are many tools that come with Max or that you can purchase.
- Eric Chadwick's Multi-Photo Panorama Guide
- Super Rune's Guide to Making Procedural Skies in 3ds Max (Free tutorial and Sky Rig)
- Dreamscape (Commercial)
- Vue Xstream (Commercial)
Common Tools for Populating your Landscape
- Itoo's Forest Pack (Free and Commercial)
- Vue Xstream (Commercial)
- GhostTown (Free and Commercial)
You have no rules for making your sky. The main workflow issue to keep in mind is to organize your scene well, and the most basic way to do that for your scene is to keep all of your 2D sky in its own layer as mentioned in previous articles. You may want to make a convention of calling this layer Sky Writer. For multi-user teams, you may want to also keep all objects in this layer in a self-contained file so that a level designer and environment artist can work in parallel in two separate files but see realtime feedback via XRef Scenes (which can be worked on remotely if your studio or group uses Autodesk Vault).
This article will not explain to you how to actually construct your sky. You really should read and follow Super Rune's Good Looking Skies from Procedural Textures to learn about some cool techniques that do not require any plugins. If you are using the Mental Ray renderer, you can look into using the mr Sun with a mr Sky map in the scene's environment map.
Finishing Your Sky
Once you are ready to test your sky in game, you simply need to open Wall Worm's Sky Writer. Follow these steps:
- Open Sky Writer ( Wall Worm > Wall Worm Level Design > Sky Writer )
- Enter a Name for your sky (like jungle_sunset or arid_noon, etc).
- Choose the dimensions for your sky textures. A good start is 512.
- Click Create New Sky
- The Sky Writer node is now added to the scene at position [0,0,0]. You may need to move it to create the best render angle (for example, move it up if nearby hills are too close to allow the distance to render).
- Hide all layers and objects that should not be part of your sky (your Layout and 3D Skybox layers and all other non-sky layers).
- Click Render in Sky Writer. This process will take some time if you are using higher resolution, extensive environments and/or many volumetric effects.
- When the render is done, click the Compile Sky to VTFs. This will send the sky into your game. (Some mods like CS:GO should have the Sky checkbutton turned off before you compile the sky.)
After the sky is compiled, you can find the sky in your game's material/skybox folder. When exporting the scene to VMF with Wall Worm, you will see the Sky listed in the sky listbox. The sky will be used when you export the level.
- Making Your Sky
Series on making your 2D Sky and 3D Skybox in 3ds Max for the Source Engine.
- Getting Started with your Sky
- Making your 3D Skybox
- Your 2D Sky and Sky Writer
- Related Topics


