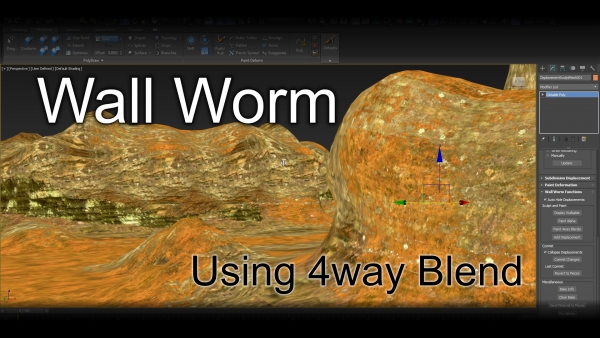
Using 4Way Blends
Support for the Lightmapped_4WayBlend shader was added to Wall Worm in 2016 to accomodate some of Black Mesa's art goals. This shader is not available in all branches of Source. At this time, the games it works in includes at least Black Mesa and Counter-Strike: Global Offensive. See the VDC for more information on the Lightmapped_4WayBlend shader.
The display shader for Lightmapped_4WayBlend in 3ds Max requires 3ds Max 2015+ and also requires that the display driver is set to Nitrous DX11. Older versions of Max or other display drivers (like D3D) are not supported. For best results, make sure you have WW 2.947+.
Creating 4Way Blend Materials
Required Global Setting
To generate Lightmapped_4WayBlend shaders you must first set you global settings to use this shader.
- Click Wall Worm > Wall Worm Settings
- Open the Materials Tab
- Set the Default Multiblend Shader in the Material Generators section to Lightmapped_4WayBlend
- Save the settings
Creating Lightmapped_4WayBlend Materials
The VMT exporter will automatically export any Composite Material to a Lightmapped_4WayBlend if your global settings have that as your default.
To start the process of making a Lightmapped_4WayBlend material, first create four Standard Materials that will reperesent the four textures in your material and pipe them into the first four slots of a Composite Material. Note that the Base Texture slot will represent the $basetexture. The next three slots will represent $basetexture2-4.
All maps in each slot will get input into the Lightmapped_4WayBlend VMT. This means that the each material's textures will be added to the VMTs texture list. It is up to you to include those textures that are allowed in any slot: for example, CSGO's implementation does not like the inclusion of $bumpmap3, etc.
Once the composite material is made:
- Assign the Composite Material to an object in the scene
- Select the object you assigned the Composite Material to
- Click Wall Worm > Wall Worm Materials > Concert Blend/Composite to DX Shaders
- Open the Material Editor
- Click the Pick Material
- Pick the object with the Material
- Double click on the Direct X Shader that the composite material is now going into
- Change any settings in the DX shader to make the material work as you want
Exporting the Lightmapped_4WayBlend VMT
Once you have the VMT working as you would like, you can export it by selecting any object that has the material applied to and click Wall Worm > Wall Worm Exporters > Export Brush Textures.
An important note is that the DX shader is only being used for displaying the material and is not actually used when exporting the VMT. The VMT data is derived from the Composite Material. To make sure your DX Shader settings get sent into the VMT, you need to open the DX shader in the material editor and click the button in the Lightmapped_4WayBlend rollout labeled Send Vals to Material.
Painting 4Way Blends
The Lightmapped_4WayBlend shader will utilize Vertex Colors stored in Map Channel 10. You can add a Vertex Paint Modifier manually or you can select an object and click Wall Worm > Wall Worm Level Design > Paint Multiblends.
When Painting the 4Way Blends, you can control which texture(s) will be affecting a vertex by opening the color picker in the Vertex Paint tool and using the Red, Green and Blue Channels as controls. Each color represents how much to apply that texture to the painted vertices.
- Black (RGB all at 0) paints the $basetexture
- Red paints $basetexture2
- Green paints $basetexture3
- Blue paints $basetexture4
You can paint multiple textures by mixing multiple color channels at once.
Working With Displacements
When you are painting 4Way Blends onto a sculpt mesh, remember that the actual displacements that get exported into the game will not get 4way blending until after you have clicked the Commit Sculpt Mesh function.
Known Issues
There are some known issues with the 4way blend tools. They are listed below along with the workarounds.
Hard Material Transition at Displacement Boundaries
Displacements in Wall Worm are simply Editable Poly objects. The functions for storing and accessing the vertex color information is the standard Editable Poly functions to get/set per vertex. However, if two adjacent displacements that don't have identical vertex color values at coincidental vertices, the sculpt mesh created from the displacements will not store the vertex data per vertex--instead it stores the data per vertex per face at that vertex. This creates a problem where the displayed vertex colors won't align with what is being exported into the game.
To avoid this problem, it's best to not paint the displacements before you create a sculpt mesh. However, this isn't always possible if the displacements were imported from Hammer.
To fix this issue:
- Select the sculpt mesh.
- Add a Vertex Paint modifier (see instructions above) .
- Go to Vertex sub-object mode in the Vertex Paint modifier.
- Select the vertices that are not blending properly.
- Set the Paint Color to what is appropriate for the correct blending.
- Click the Paint All button (icon of paint bucket with red paint coming out)
The Painted Blending Disappears
This is a visual quirk that happens sometimes where the object is no longer displaying the correct channel. The actual paint blending is not lost.
The solution to this is to set the object's display channel to 10. You can do this by right-clicking the displacement, clicking Object Properties and then setting the Display Channel to Map Channel 10. Another option is to add the 4way blend vertex paint modifier onto the displacement (set to channel 10).
- Using Materials
-
- Source Shader Settings
- Blend Materials and WorldVertexTransition
- Using 4Way Blends
- DX Display Shaders
Information on the DX shaders used by Wall Worm.
- Displacement Alpha Blending
- Using 4Way Blends
- Related Topics


