Texturing World Geometry in 3ds Max
Of all the challenges that face Hammer users who are trying to learn how to build levels in 3ds Max, probably fewer are more challenging than texturing. There is currently no one-to-one translation of Hammer techniques for texturing into Max. And this poses a problem because the techniques for texturing in Max are significantly different than in Hammer.
One thing to learn is that although it is generally labeled "texturing" in Hammer, in 3ds Max the same functions are refered to two separate but related/overlapping functions: "texturing" (creating and applying textures) and "editing UVs" (transforming the textures). There are multiple methods for both functions, and strategies to work with can involve both modifiers and material editor settings.
The first principle for successfully texturing world geometry in Max is to start thinking about your objects as systems of objects that can be controlled parametrically. Unlike in Hammer (where every single side of a brush is always completely independent of other sides and every single brush is independent of other brushes), in Max you should think of brushes as collections of related objects that can be controlled by related texturing rules.
In the case of a simple hollow-cube level, you can select all of the brushes and apply a single UVW Map Modifier to them all (doing this will instance the same modifier across all the selected objects). Now set the UVW Map to Box UVW and your textures will all align, and changing the UVW modifier on any object sharing that instance will immediately update to match. Now this is a simple case that can solve simple rectangular scenarios.
For more complex situations, you may have to use different strategies. Detailing them is beyond this article, but the following modifiers are all useful in solving texturing tasks for brushes:
- Material
- Poly Select
- UVW Map
- UVW XForm
- Unwrap UVW
- PolygonMap*
- Flatiron*
* Commercial 3rd Party Plugins
To successfully UV world geometry with modifiers, you need to learn how to utilize the Modifier Stack and how Sub-Object Selections are passed up the stack. You'll also need to learn how UVW Channels work.
While a lot of the information on UVW for Max relate to using the Unwrap UVW modifier, you will probably find that using the Unwrap UVW modifier is not especially easy for world geometry. Only utilize that modifier if you've already learned more generic methods that are designed for tiling textures (although unwrapping is valid for world geometry, it can very often be needlessly complex to unwrap most world geometry).
UVW Channels
Objects can have multiple UVW Channels. Channels are designated by a number. By default, objects that autogenerate mapping coordinates use Channel 1. Also, by default, when you add a UVW Modifier it affects channel 1. But you can set any arbitrary channel. In practice, it means you might have a Box Mapping modifier for Channel 1 that forces materials to tile every 128 units. You can have another UVW Map in channel 2 that tiles every 256 Units and is rotated 90 degrees. Which channel any bitmap will use is defined in the material editor for that bitmap: look for a Mapping Channel setting.
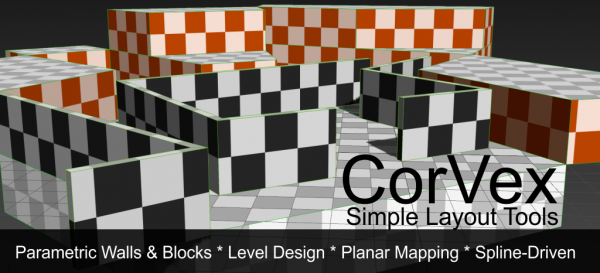
CorVex
All of the advice above is for doing UV tasks with standard 3ds Max geometry. But your best tool for texturing world geometry is CorVex. CorVex is a Wall Worm-developed geometry plugin specifically created for making it easy to both build world geometry and to quickly texture entire systems of brushes. With CorVex, the amount of time you'll spend aligning textures is negligible. Once you learn how CorVex works, you'll build complex world geometry scenes in a fraction of time you could ever do in Hammer--both in terms of creation of geometry and texturing.
- Related Topics


